Glass Cast Pelee
Status: Complete
Summary
Skills: This project made use of 3D printing, hand tools, and an electric furnace
This was a glass casting done as part of a humanities course titled “Volcanoes” at Caltech.
Process
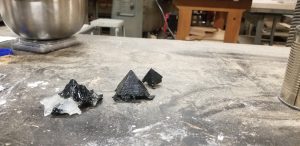
I first 3D-printed pyramids to test the quality of the glass melt and have a more consistent shape to compare to. As seen below, some of the models were too large to fit in the tupperware.
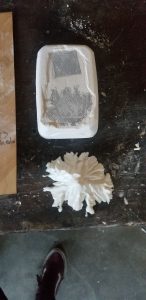
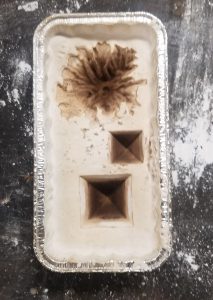
Then, I printed topographic models of Pelee and poured a plaster cast around both these models and the pyramids. On first pour, the pyramid tip caused too high of a stress concentration and the first plaster mold cracked. With the second pelee model, I cast the mold in an aluminum pan which helped the plaster retain its structure and not crack. I also had difficulty with the temperature profile to burn out the PLA. It did not evaporate at all the first run, and I modified the furnace cycle based off various forum recommendations. This worked, and the PLA evaporated.
Next, I gathered chunks of glass. There were several empty bottles of various types sitting in the recycling bin, so I wrapped them in cloth and smashed them with a hammer until they were small enough to rest on top of the plaster mold.

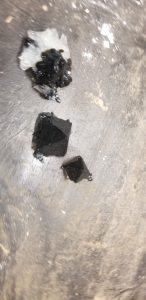
Finally, it was time to melt the glass. I once again programmed the furnace based off recommendations from an online forum. After about 24 hours, the glass melt into the mold was ready! Some of the glass spilled out around the edges and the mold still had a weak point from the sharp edges of the pyramid. However, all three casts were intact and were able to be removed successfully.
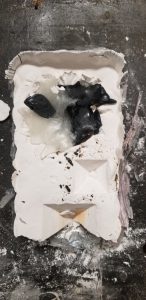
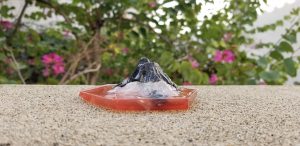
There were a few long tails on the pyramids, and it seems that the temperatures may not have been held quite right as the white glass did not bond to the black. However, the surfaces were shockingly smooth.
I decided the finishing touch needed for the mountain was a base of epoxy so that it could easily sit on a desk. I mixed epoxy powder with standard Home Depot amber epoxy to get a vibrant red base. Overall the piece did end up looking like a volcano, if a volcano were taking a bath in its own lava.